Some years ago Hans PE1BVQ bought a Superantenna MP-1 after seeing mine. Especially the compact size of the antenna when travelling was something to go for and of course how the antenna performed. At that time we exchanged some e-mail about the length of the antenna and how to get a even better performance out of it. We were not alone and it has been tried before. But we are both stubborn radioamateurs and never believe what others tell till we have prove it ourself.
Besides that Hans was on vacation in my area and it's always fun to do some experiments together.
These days you can find these antennas at
http://newsuperantenna.com/. Remember we bought ours long before this site even existed. You can buy so many gadgets for this antenna these days. So, it is a good product. I bought mine second hand from a english HAM
(M6RDP) who was very active before but only does SWL now. That was almost 10 years ago and still the antenna does well.
The experiment goal was to determine the effect of length on the signal, receive and SWR of the antenna. Theoretically current in a antenna is high at the bottom, so the coil needs as high as possible for higher efficiency. We are not the first ones that tried this. You can read all about this
shootout here.

First of all we did a test with WSPR. Hans his vacation QTH is about 20km south of my QTH. So we tried a quiet 10m band to conduct a experiment with a normal and a longer MP-1 and finally compared with a vertical polarized endfed. All transmissions were done with 1W. The first 2 spots are before the experiment. I was the receive only station. We kept a log via whatsapp (modern times ;-)).
See WSPR reports on 10m. 19:16-19:24 are with the original MP-1 (2 rods below the coil). 19:34-19:38 are with the shortened MP-1 (1 rod below the coil). 19:52 and 19:54 are with a 7m long endfed on the ground. What you see is actually no difference. That's because WSPR is not a good tool to measure difference between antennas. Propagation/conditions may differ too much during testing. However, it was a nice experiment.
 |
| MP-1 long/short. 1W WSPR signal as received at PE4BAS over 19km |
This experiment might not bring the result we expected but we observed other interesting things. For instance removing one rod below the coil does not change the SWR much.
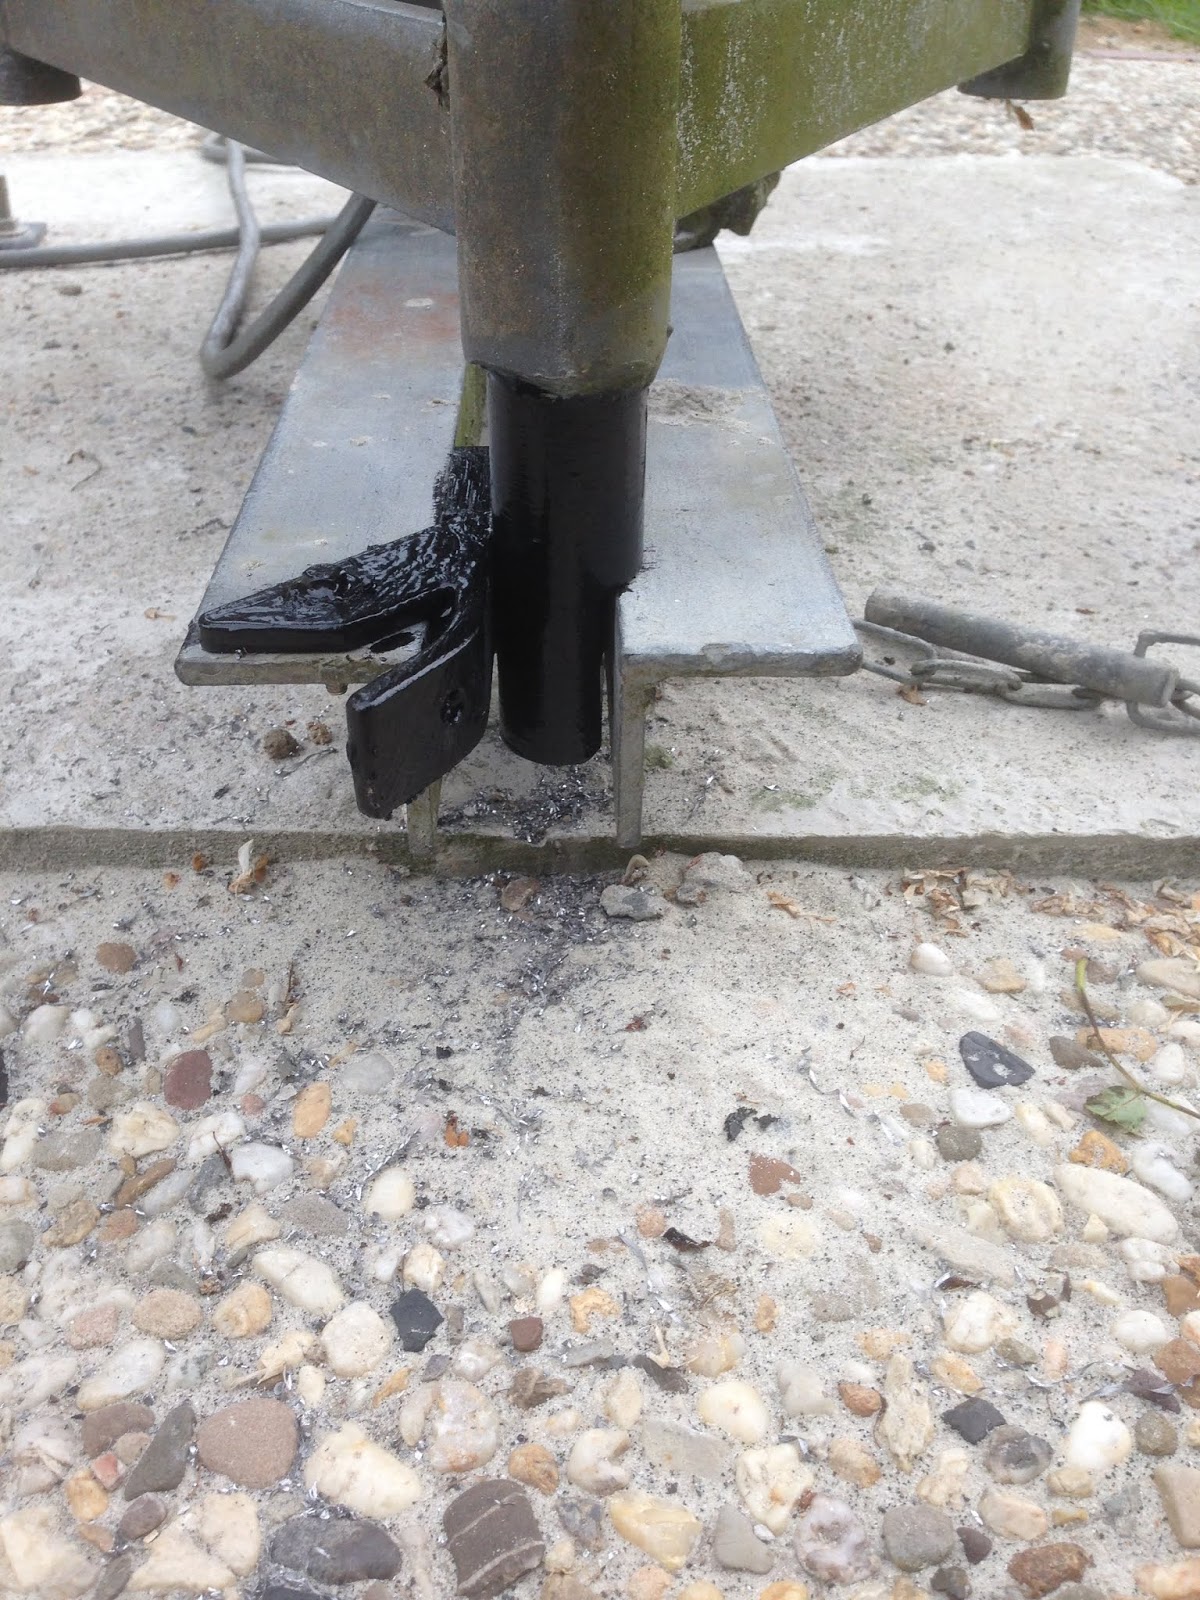
Hans his vacation was almost over last week and as he planned to visit me at home we decided to do a fieldstrength experiment with my MP-1. So after a good cup of coffee we setup the MP-1. Hans brought his analyzer so we could change bands fast.
We decided to measure at 14MHz first as being approx. the center of HF bands covered by the MP-1.
(Click on the photos to view a larger one). At first we tried 3 rods below the coil. A reading of 2,5 stripe on the FSM. With only rod it is 1,5 stripe. There is a difference but it is not that big. How many dB it is? Wish we had better measuring tools. But at least we showed there is a difference. We expect with the original 2 rods the reading is 2 stripes. It was interesting to see the SWR hardly changed with 1 or 3 rods below the coil, something we didn't expect!
Next we tried 40m as we expected to see more difference because of the band length.
You hardly see 0,5 stripe difference between 2 rods or 3 rods. 1 rod is not possible because the antenna is too short then and you can't get the SWR right. So, actually if compared with 20m it is the same difference. It probabely has something to do with ground losses I think.
It was already near sunset when we decided we quickly should have a test on 10m as well to complete the experiment.
Fieldstrength looks larger now but that's just because of the frequency. Probabely the diode picking up the signal is more sensitive here. Besides that the antenna length on the FSM is more efficient on higher frequencies of course. You see a larger difference now, But still it is only a few stripes.
Well our conclusion is that making the antenna larger with a 30cm rod will add some more gain but it will not be noticed at the receiving station. It is more a psychological thing thinking that bigger is always a lot better. However we didn't test it on receive. For that we would need 2 MP-1 antenna's and a switch. A experiment we could do probabely next year?
Did we prove anything new? No, but it was interesting though and a nice experiment to do together. There is another experiment that I want to do. It has to do with the feedpoint impedance of the MP-1. DD7LP claims that there can be a 20% improvement in fieldstrength if you use a beta match at the feedpoint to match the impedance to approx. 50 Ohm. He does this with a 1 microH coil connected parallel to the coax at the feedpoint.
Find the experiment (in German language) here:
http://www.darc-husum.de/portabel-antenne.html
To end this post I inserted a photo from both Hans and my FT-817 after sunset. Hans his FT-817 looks a little odd as it felt off the stairs and he removed the broken screen protection. You get a complete other colour backlight then and a bigger screen.